
As you stare at the gaping holes around your freshly installed vinyl siding, you’re probably wondering how to make your windows look complete. While vinyl siding offers durability and low maintenance, the lack of integrated trim leaves your home’s facade looking unfinished. Don’t worry – adding trim around the windows is an easy process that can transform the look of your home. With some basic materials, tools, and a little know-how, you can install window trim that provides a polished appearance.
This step-by-step guide will walk you through the entire process, from prepping the area to cutting and attaching trim pieces. In just an afternoon, you can give your vinyl-sided house a custom-finished look that makes it look fresh and updated. Let’s get started on dressing up those windows!
Sick of That Tacky Gap Around Your Windows?
The Unsightly Gap
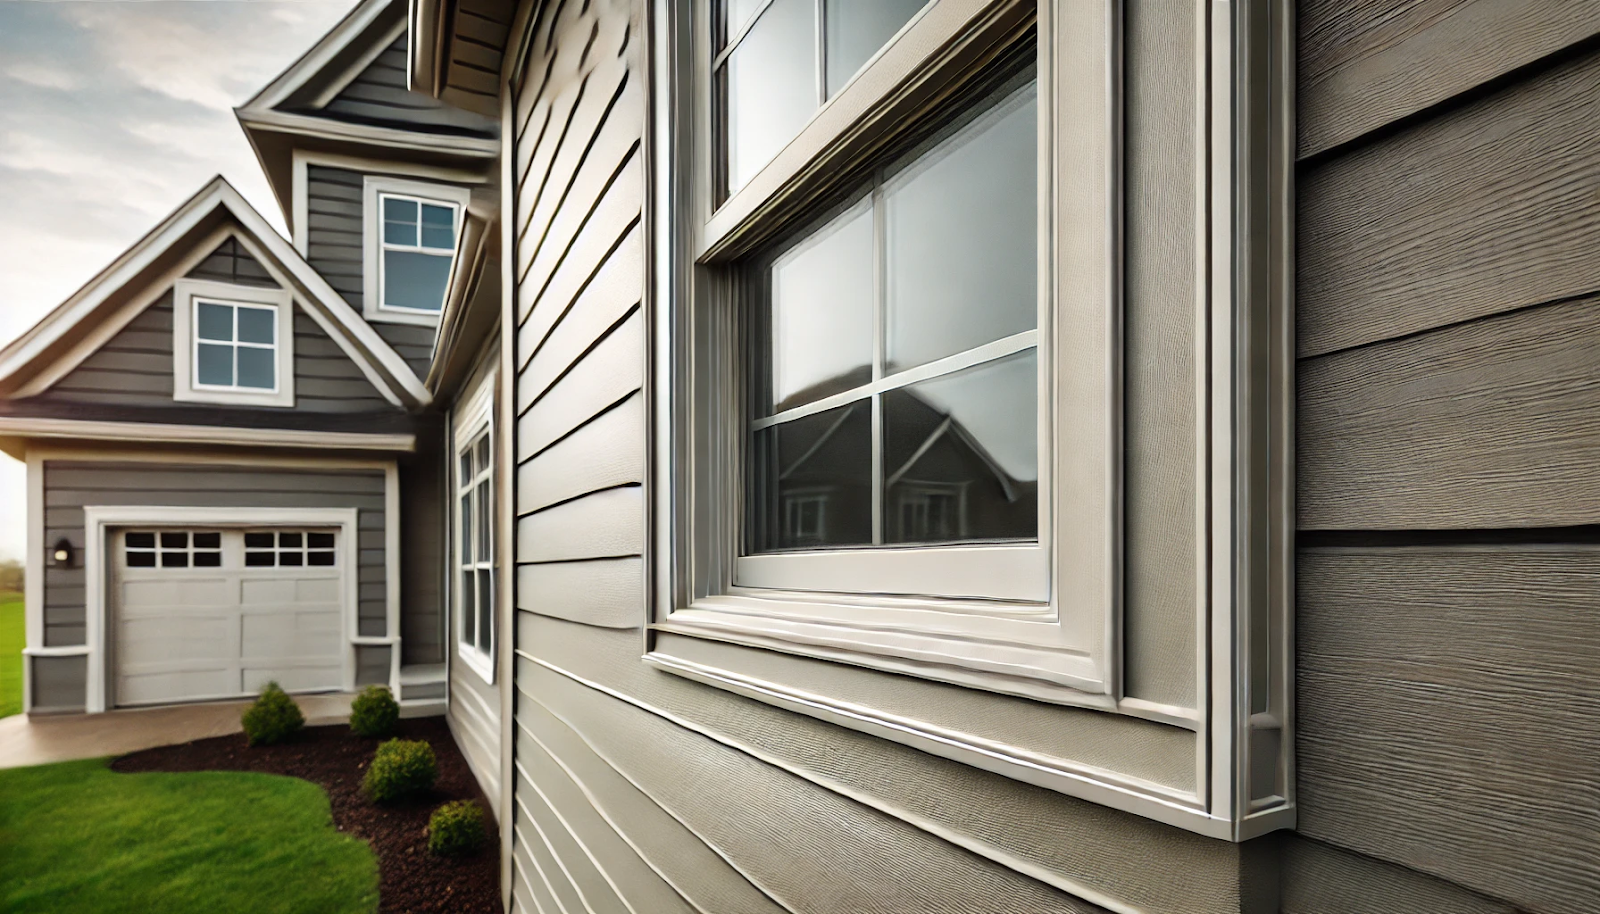
That ugly gap between your window trim and vinyl siding is an eyesore. Not only does it detract from your home’s curb appeal, but it can also lead to energy inefficiency and moisture problems. Don’t let this minor issue spiral into a major headache – it’s time to tackle that tacky gap head-on.
Causes and Concerns
There are a few common culprits behind this unattractive gap. Improper installation of either the window or siding is often to blame. Over time, materials can also shift and expand due to temperature fluctuations, creating spaces where they shouldn’t be. Beyond aesthetics, these gaps allow drafts, moisture, and pests to infiltrate your home.
The Simple Solution
Fortunately, there’s an easy fix – installing trim around your windows. This affordable upgrade creates a seamless, professional look while sealing out the elements. With the right materials and a bit of elbow grease, you can transform that eyesore into a polished detail.
Benefits Galore
Window trim isn’t just about looks – it offers functional benefits too. A proper trim installation enhances energy efficiency by eliminating drafts. It also prevents moisture intrusion that can lead to wood rot, mold, and other structural issues down the line. And by sealing out pests, trim gives you priceless peace of mind.
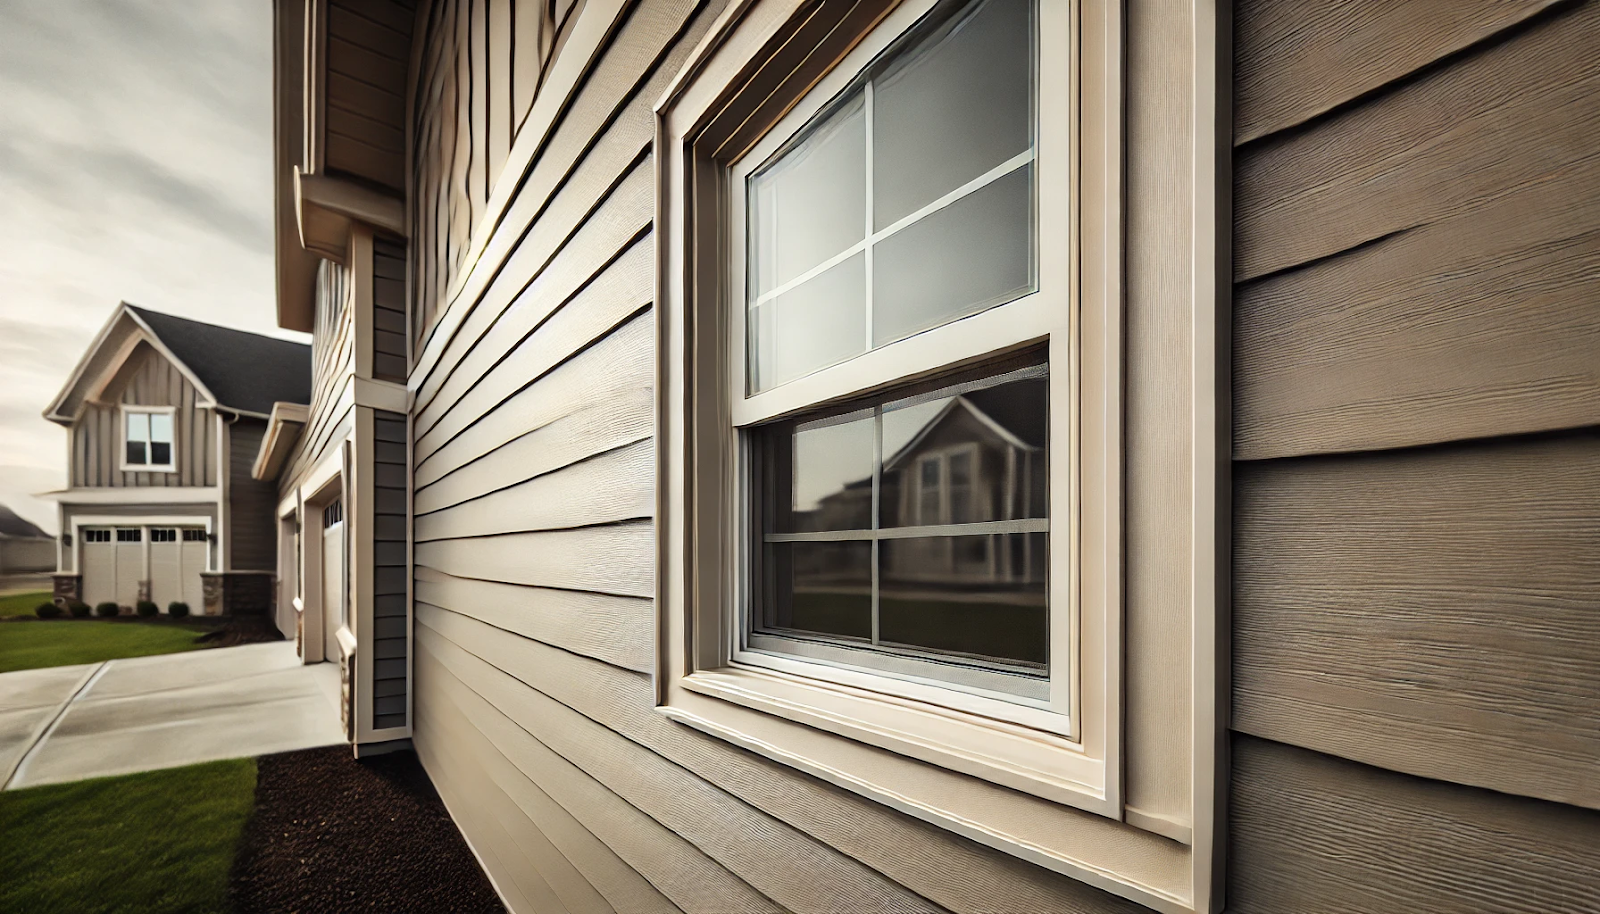
Elevate Your Curb Appeal
Let’s not forget the aesthetic value window trim adds. It provides clean lines that accentuate your windows while tying the look together with your siding. You can choose trim colors and styles that complement your home’s exterior for a flawless, cohesive appearance that truly wows.
With professional-looking window trim, you’ll not only eliminate that unsightly gap, but elevate your home’s entire curb appeal in the process. It’s a simple upgrade with big-time impact – why live with an eyesore when the solution is so straightforward?
Choosing the Right Window Trim for Vinyl Siding
Consider Material and Color
When selecting window trim for your vinyl siding, the material and color are crucial factors to consider. Opt for trim made from durable, low-maintenance materials like PVC or composite wood that can withstand the elements. Ensure the trim’s color complements your siding for a cohesive look.
Measure Accurately
Precise measurements are essential for a proper fit. Carefully measure the window openings, accounting for any obstructions or irregularities. Double-check your measurements to avoid costly mistakes.
Match Existing Trim
If you’re replacing window trim, try to match the existing style and dimensions for a seamless transition. This approach maintains a consistent aesthetic and simplifies the installation process.
Explore Style Options
Window trim comes in various styles, from simple and sleek to ornate and decorative. Consider the architectural style of your home and choose a trim design that enhances its character. Popular options include flat casing, ranch-style, and historic profiles.
Plan for Expansion and Contraction
Vinyl siding and trim expand and contract with temperature changes. Leave adequate space between pieces to accommodate this movement and prevent buckling or warping. Follow manufacturer guidelines for proper installation techniques.
Invest in Quality
While cost is a factor, resist the temptation to choose the cheapest option. High-quality window trim will last longer, maintain its appearance better, and provide a superior finished look. Prioritize durability and performance over short-term savings.
By carefully considering these factors, you can select the ideal window trim that not only complements your vinyl siding but also enhances the overall curb appeal and value of your home. Remember, attention to detail in material, color, style, and installation will pay dividends for years to come.
Prep Work: What You Need Before Installing Window Trim
Getting the right preparation done is crucial before you begin installing window trim on your vinyl siding. Having everything ready will make the process much smoother and ensure professional-looking results.
Gather Essential Tools & Materials
To get started, you’ll need to gather a few essential tools and materials:
- Utility knife or fine-toothed saw
- Caulking gun
- Exterior caulk or sealant (100% silicone)
- Trim nails or finish nails
- Hammer or nail gun
- Level
- Tape measure
- Pencil
- Safety gear (gloves, goggles, etc.)
Ensure you have enough trim pieces to cover all your windows, accounting for any mitered corners or other custom cuts needed. It’s better to have extra than run short.
Inspect the Window Openings
Before installing trim, thoroughly inspect each window opening. Look for any gaps, cracks, or damage that needs repair. Fill these with an exterior-grade sealant to create a smooth surface for the trim to adhere to.
You may also need to remove any old, deteriorated trim pieces still attached. Use a utility knife or pry bar to carefully dislodge them without damaging the vinyl siding.
Prepare the Surrounding Area
To work safely and efficiently, clear the area around each window you’ll be trimming. Move any furniture, plants, or other objects out of the way to create an unobstructed workspace.
Lay down drop cloths to catch any debris, caulk, or paint drips and protect the surrounding surfaces. This step ensures a tidy workspace and prevents accidental messes.
Understand Proper Trim Installation Technique
Before cutting any trim pieces, review the manufacturer’s installation guidelines for the specific trim style you’re using. Proper technique is key – you’ll need to account for expansion and contraction of materials due to temperature changes.
Leaving small gaps where recommended allows the trim to expand and contract naturally without buckling or warping over time. Understanding these nuances from the start prevents potential issues down the road.
With thorough prep work completed, you’ll be ready to move on to precisely measuring, cutting, and installing beautiful new vinyl window trim that looks clean and professional. Proper planning prevents problems!
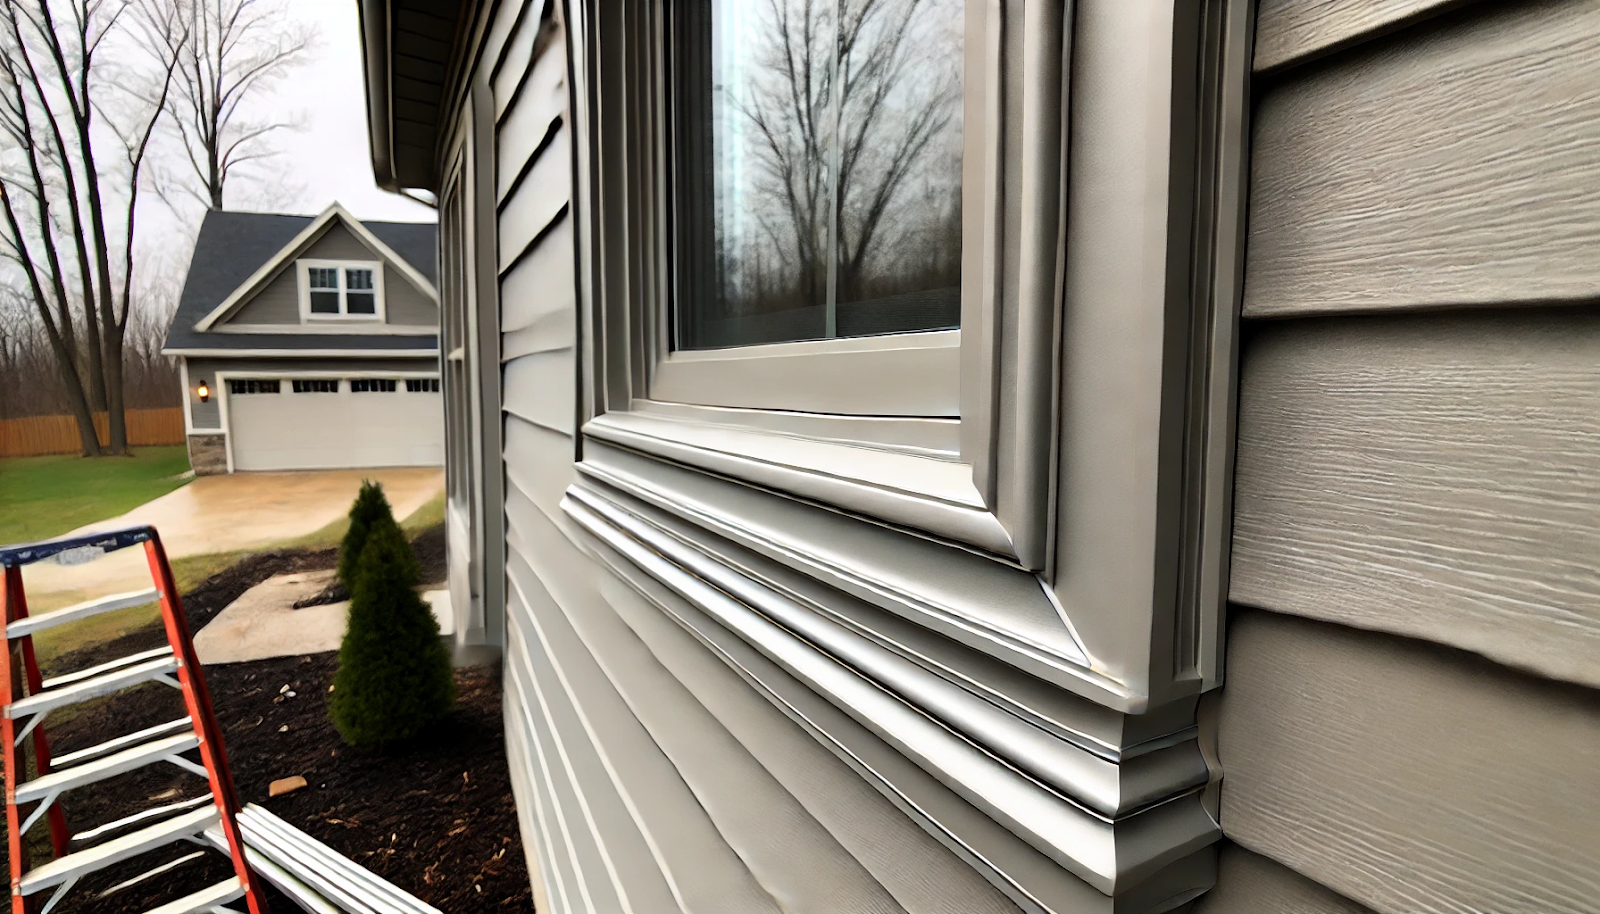
Step-by-Step Guide to Installing Window Trim on Vinyl Siding
Installing window trim on vinyl siding is a straightforward process that can enhance your home’s curb appeal. Before beginning, ensure you have the necessary materials, including vinyl trim pieces, utility knife, exterior caulk, and a snap lock punch tool.
Prepare the Work Area
Proper preparation is key to a successful installation. Start by cleaning the area around the window frame, removing any debris or loose caulk. Next, measure the window frame to determine the required length for each trim piece, allowing for a slight overlap at the corners.
Cut the Trim Pieces
Using a utility knife or shears, carefully cut the trim pieces to the appropriate lengths. For precise mitered corners, use a miter box or make angled cuts with a miter saw. Double-check your measurements to ensure a proper fit.
Apply Caulk to the Window Frame
Apply a bead of exterior caulk along the window frame where the trim pieces will be installed. This will help create a weather-tight seal and prevent moisture from seeping behind the trim.
Install the Trim Pieces
Starting with the bottom piece, position the trim against the window frame and secure it using a snap lock punch tool or trim nails. Work your way around the frame, installing the side pieces and top piece, ensuring a tight fit at the corners.
Seal the Corners and Joints
Once all trim pieces are in place, apply a generous amount of caulk to the corners and joints. Smooth the caulk with your finger or a caulking tool, creating a seamless finish.
Allow for Proper Curing
Let the caulk cure according to the manufacturer’s instructions before painting or applying any additional finishes. This will ensure a long-lasting, weather-resistant installation.
By following these step-by-step instructions, you can achieve a professional-looking window trim installation that not only enhances your home’s appearance but also protects it from the elements. Remember to take your time, measure accurately, and seal all joints for optimal results.
Conclusion
Installing window trim on vinyl siding is a great way to enhance your home’s exterior, but it requires careful planning and execution. While DIY enthusiasts may tackle this project, professional installation ensures the best results. That’s where we at Rhino Livermore Window Replacement & Siding come in.
Our experienced team can expertly handle every step of the process, from selecting the right trim dimensions to ensuring a secure, straight fit. We use high-quality materials and proper techniques to achieve beautiful, long-lasting results that will boost your home’s curb appeal and value.
Don’t risk costly mistakes or subpar results. Let our skilled professionals at Rhino Livermore Window Replacement & Siding transform your home’s exterior with perfectly installed window trim. Contact us today for a consultation and experience the difference that comes with choosing a trusted, local expert for your home improvement needs.
Frequently Asked Questions
Can you put window trim over siding?
Yes, you can put window trim over siding. This is typically done to enhance the appearance of the window and provide a finished look. The trim can be installed directly over the siding, but it is important to ensure that it is properly sealed to prevent water from seeping behind the siding and causing damage.
What is the trim on vinyl siding called?
The trim on vinyl siding is commonly referred to as “J-channel.” This trim piece is used to provide a clean edge around windows, doors, and other openings in the siding. It helps to hold the siding in place and provides a finished look.
What do you put around windows for vinyl siding?
When installing vinyl siding around windows, J-channel trim is typically used to frame the window. This trim creates a neat edge and helps to secure the siding. Additionally, flashing tape and caulking are used to ensure that the area around the window is watertight and to prevent moisture infiltration.
What is the vinyl trim around windows called?
The vinyl trim around windows is called “J-channel.” This trim piece is used to create a clean edge around the window and to hold the siding in place. It also helps to direct water away from the window, reducing the risk of leaks.
What do you call exterior window trim?
Exterior window trim is generally referred to as “casing.” This trim can be made from various materials, including wood, vinyl, and composite materials. The casing provides a finished look to the window and can also help to seal the gap between the window frame and the exterior wall, improving energy efficiency and preventing water infiltration.