
Are you looking to enhance your home’s exterior and protect it from water damage? Installing J channel around windows is a crucial step in siding projects that can significantly improve your home’s appearance and functionality. This comprehensive guide will walk you through installing J channel around windows, ensuring a professional-looking finish that stands the test of time. Whether you’re a DIY veteran or a newcomer to home improvement, you’ll discover expert tips, tricks, and step-by-step instructions to empower you to tackle this project with confidence. In this comprehensive resource, we’ll cover the essential tools, materials, and techniques required to successfully install J channel around your windows and enhance your home’s exterior.
What is J Channel and Why Use It Around Windows?
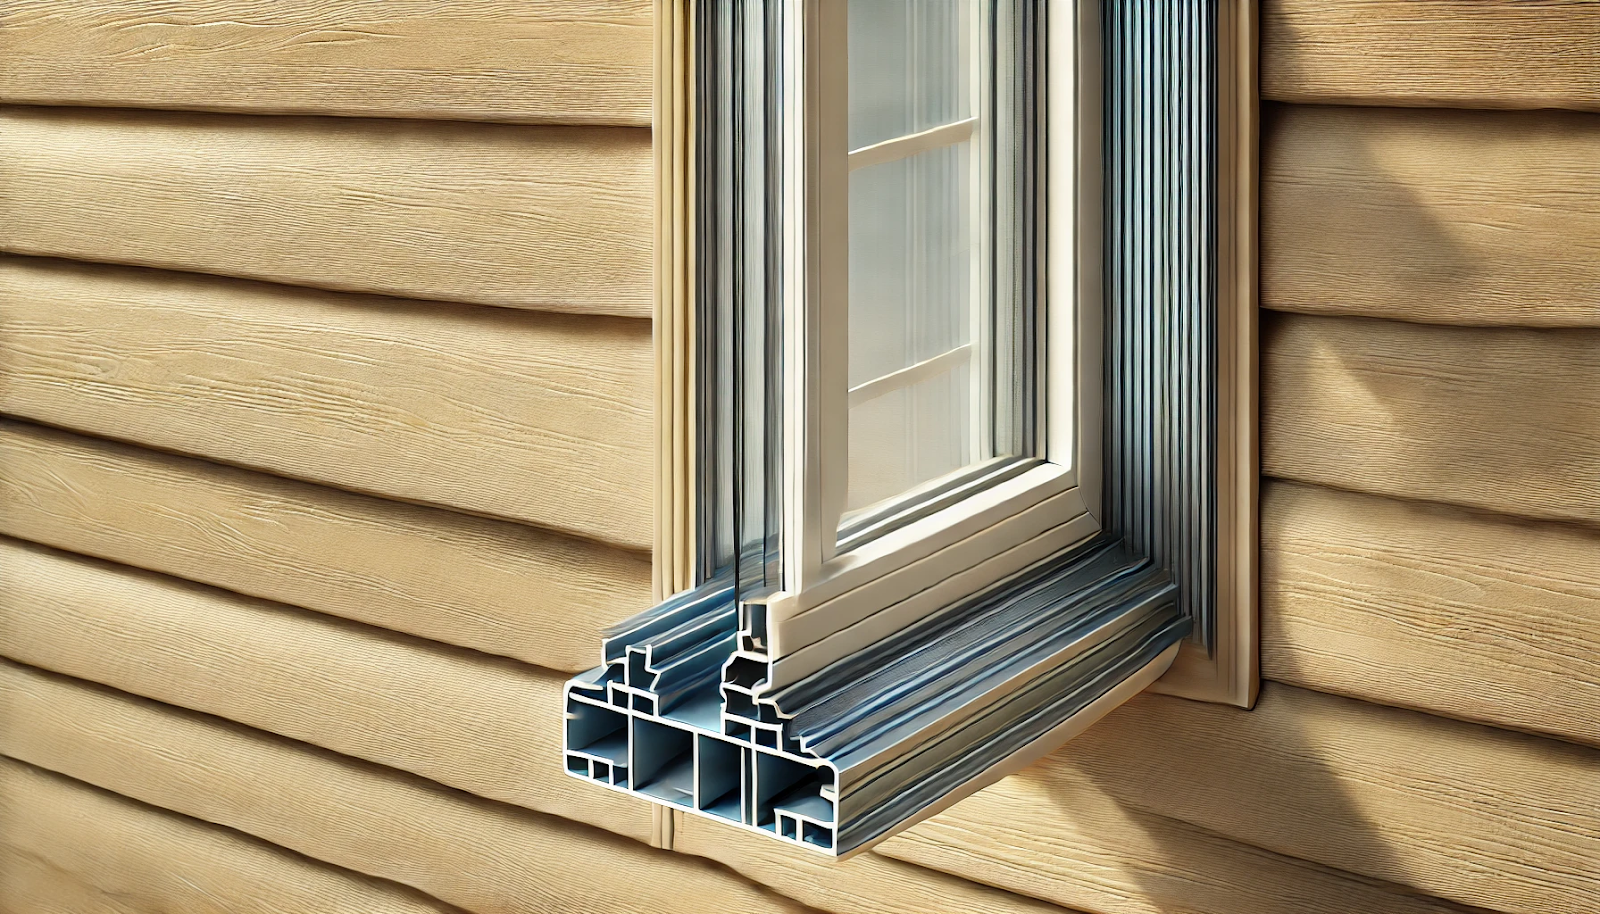
J channel is a crucial component in vinyl siding installation, particularly for windows. This versatile trim piece, shaped like the letter “J,” serves multiple purposes that enhance the exterior of your home’s aesthetics and functionality.

J channel is a vinyl trim designed to create a seamless transition between siding panels and other elements of your home’s exterior, such as windows, doors, and corners. Its primary function is to provide a clean, finished edge for siding panels while directing water away from vulnerable areas.
Benefits of Using J Channel Around Windows
When installed correctly around Windows, the J channel offers several advantages:
- Water Management: The J-shaped design effectively channels water away from window openings, preventing moisture infiltration and potential damage to your home’s structure.
- Aesthetic Appeal: J channel creates a polished, professional look by concealing the cut edges of siding panels, resulting in a more attractive overall appearance.
- Insulation Support: By providing a secure fit for siding panels, J channel helps maintain proper insulation around windows, contributing to improved energy efficiency.
- Protection: It acts as a barrier against insects and small animals, reducing the likelihood of pests entering your home through gaps around windows.
- Durability: Made from durable vinyl, J channel resists weathering, fading, and rotting, ensuring long-lasting performance and minimal maintenance.
When to Use J Channel
You should use J channel around windows during new siding installation or when replacing existing siding. It’s an essential component for achieving a professional-looking finish and ensuring proper water management around these critical areas of your home’s exterior.
By incorporating J channel into your window trim, you’ll not only enhance the visual appeal of your home but also protect it from potential water damage and improve its overall energy efficiency. Understanding the importance of this simple yet effective component is key to a successful siding installation project.
J Channel Installation: Materials and Tools You’ll Need
Before you begin installing J channel around your windows, it’s crucial to gather all the necessary materials and tools. Having everything on hand will ensure a smooth and efficient installation process.

Essential Materials
To properly install the J channel, you’ll need the following materials:
- J channel: Choose a vinyl J channel that matches your siding color and style.
- Utility knife: This is used to cut the J channel to size.
- Tin snips: These are essential for making precise cuts in the vinyl material.
- Caulk: Select a high-quality, exterior-grade caulk to seal gaps and prevent water infiltration.
- Nails: Use galvanized roofing nails or aluminum nails specifically designed for vinyl siding.
Required Tools
Equip yourself with these tools to ensure a professional-looking installation:
- Tape measure: For accurate measurements of your window openings.
- Pencil: To mark cutting lines on the J channel.
- Hammer: A standard claw hammer will suffice for nailing the J channel.
- Level: This ensures your J channel is installed straight and plumb.
- Safety equipment: Don’t forget protective gear such as safety glasses and work gloves.
Optional but Helpful Items
While not strictly necessary, these items can make your J channel installation easier and more precise:
- Miter saw: To make clean, angled cuts on the J channel.
- Chalk line: Useful for marking straight lines along longer window spans.
- Vinyl siding removal tool: This can help if you need to remove existing siding around the windows.
By gathering these materials and tools before you start, you’ll be well-prepared to tackle your J channel installation project. Remember, using the right equipment not only makes the job easier but also contributes to a more professional and long-lasting result.
Step-by-Step Instructions for Installing J Channel Around Windows
Prepare the Work Area
Before you begin installing J channel around your windows, ensure you have all necessary tools and materials on hand. You’ll need J channel pieces, tin snips, a tape measure, a level, a pencil, and a hammer or nail gun. Clear the area around the window, removing any obstacles that might impede your work.
Measure and Cut the J Channel
Carefully measure the width of your window, adding an extra inch to each side for overlap. Using tin snips, cut the horizontal pieces of J channel to these measurements. For the vertical pieces, measure from the bottom of the window to 1/4 inch above the top, allowing for proper water drainage.

Install the Bottom Piece
Begin by installing the bottom piece of J channel. Position it so that it extends slightly past each side of the window. Use a level to ensure it’s straight, then secure it with nails or screws every 8-12 inches. Remember to leave a small gap (about 1/4 inch) between the J channel and the window frame for expansion.
Attach the Side Pieces
Next, install the vertical pieces of J channel. These should overlap the bottom piece by about an inch. Ensure they’re plumb using a level, then secure them in place. At the top of each side piece, make a small notch to allow it to fit snugly against the top piece.
Install the Top Piece
Finally, install the top piece of J channel. This should overlap the side pieces by about an inch on each side. Make sure it’s level before securing it in place. At each end of the top piece, create a small tab by cutting and folding the J channel. This tab should fold down over the side pieces to create a watertight seal.
Final Checks and Adjustments
After installation, double-check all pieces for proper fit and alignment. Make any necessary adjustments to ensure a secure and weathertight seal around your window. Remember, proper installation of J channel is crucial for protecting your home from water damage and maintaining energy efficiency.
Tips and Tricks for a Smooth J Channel Installation
Consider these expert tips and tricks from Rhino Livermore Window Replacement & Siding to ensure a seamless J channel installation around your windows. By following these recommendations, you’ll achieve a professional-looking finish that enhances your home’s exterior.

Measure Twice, Cut Once
Before you begin, take precise measurements of your window openings. Add an extra 1/4 inch to each measurement to allow for expansion and contraction. This small buffer will prevent buckling or warping in extreme temperatures.
Use the Right Tools
Invest in a quality tin snips for clean, accurate cuts. A snap lock punch will create precise tabs for interlocking pieces. Consider using a vinyl siding removal tool to make adjustments easier without damaging existing siding.
Start at the Bottom
Always begin your installation at the window’s bottom, working your way up. This approach ensures proper water drainage and a polished appearance. Remember to overlap each piece by at least 3/4 inch for optimal protection against moisture infiltration.
Create Proper Corners
When forming corners, make a 45-degree miter cut on each piece. For a tighter fit, you can also use a notching technique. Cut a small notch in the bottom of the vertical piece and fold it over the horizontal piece for a seamless corner.
Allow for Expansion
Don’t nail the J channel too tightly against the window frame. Leave a small gap (about 1/16 inch) to accommodate thermal expansion and contraction. This flexibility will prevent warping and ensure longevity.
Seal Properly
Apply a bead of exterior-grade caulk along the edge where the J channel meets the window frame. This extra step provides an additional barrier against water infiltration and improves energy efficiency.
By implementing these tips and tricks, you’ll achieve a professional-grade J channel installation that not only looks great but also effectively protects your home from the elements. Remember, patience and attention to detail are key to a successful project.
Conclusion
Here’s how you can tackle this project: Follow this step-by-step guide to confidently tackle this DIY project. Remember to measure carefully, cut precisely, and seal thoroughly for the best results. Proper installation of the J channel not only enhances your home’s appearance but also ensures its longevity.
At Rhino Livermore Window Replacement & Siding, we are one of the trusted window and siding replacement and installation contractors in Livermore, CA. Our expertise extends to installing J channel around windows, a critical step in siding installation that safeguards your home from water damage.
As experienced contractors in this field, we can attest that with the right tools, materials, and techniques outlined in this article, you’re now equipped to install the J channel like a pro. Take your time, pay attention to detail, and enjoy the satisfaction of a job well done. Your newly installed J channel will provide years of protection for your windows and home.
FAQs
How to install J channel around windows with existing siding?
To install J channel around windows with existing siding, start by measuring the length of each side of the window and cutting the J channel to fit, making sure to miter the corners at a 45-degree angle for a neat appearance. Carefully remove the existing siding around the window using a siding removal tool. Next, nail the J channel into place around the window, beginning with the bottom piece, then the sides, and finally the top. It’s important to install the bottom piece with the open end facing up to allow for proper water drainage. After the J channel is securely in place, replace the siding around the window, ensuring it fits snugly into the J channel for a secure and tidy finish.
What is the J channel on windows?
The J channel on windows is a trim piece designed to create a clean, finished edge where the siding meets the window frame. It serves a dual purpose: directing water away from the window to prevent moisture-related issues and providing a space for the siding to tuck into, which ensures a secure fit and a neat appearance. This trim piece is essential in maintaining both the functionality and aesthetics of the siding installation around windows.
Do you put a J channel at the bottom of siding?
Yes, it is essential to put a J channel at the bottom of siding. This piece of trim provides a clean edge and helps secure the bottom row of siding, ensuring it stays in place. Additionally, the J channel aids in directing water away from the siding, which is crucial in preventing moisture buildup and potential damage. Proper installation of the J channel at the bottom of the siding enhances the overall durability and appearance of the siding.
How to cut siding around windows?
To cut siding around windows, begin by measuring the dimensions of the window, including the J channel if it has been installed. Mark these measurements on the siding panel accurately. Use tin snips or a circular saw with a fine-tooth blade to cut the siding along the marked lines. For more detailed cuts, especially around corners, tin snips provide better control and precision. Once the siding is cut, fit it around the window and make any necessary adjustments to ensure a snug and precise fit. This careful approach ensures that the siding seamlessly integrates around the window.
Where to install J trim?
J trim is typically installed in several key areas to ensure a clean and finished look. Around windows and doors, J trim creates a neat edge where siding meets these frames. It is also installed at the bottom of walls to finish the bottom edge of the siding securely. Around eaves and soffits, J trim provides a tidy finish where siding meets rooflines and soffits, ensuring a seamless transition. Additionally, J trim is used at inside and outside corners to ensure a clean transition between siding panels at these junctions. This versatile trim piece is crucial for both the aesthetic appeal and functional integrity of siding installations.